Here I will show you steps to easily write, build and deploy GWT applications with Eclipse.
Step 1: Install Eclipse – http://www.eclipse.org/downloads/
Step 2: Install JBoss Server – http://www.jboss.org/jbossas/downloads/
Step 3: Install JBoss Tools for Eclipse – http://www.jboss.org/tools/download.html, configure setting to use your JBoss server installation
Step 4: Install GWT SDK – http://code.google.com/webtoolkit/
Step 5: Install Google Plugin for Eclipse – http://code.google.com/appengine/downloads.html
Step 6: Prepare project:
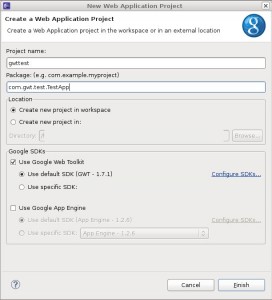
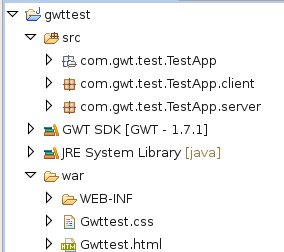
Click “blue G” somewhere in the menu or find Web Application Project in the New Project … menu to create Google App Engine project gwttest. Deselect Use Google App Engine.
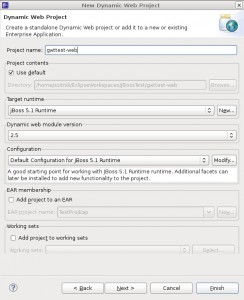
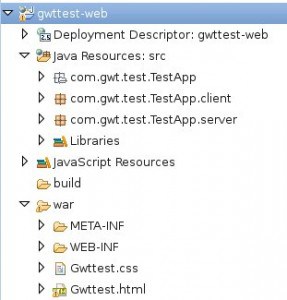
Create ne Dynamic Web Project gwttest-web and click Next.
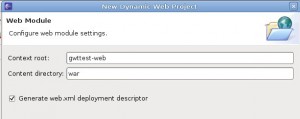
Rename Content directory to “war”.
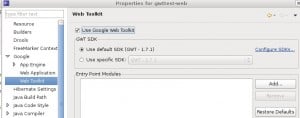
Go to properties for gwttest-web project and within Google -> Web Toolkit select to use your GWT.
Copy “src” and “war” folders from gwttest to gwttest-web project.
 |
 |
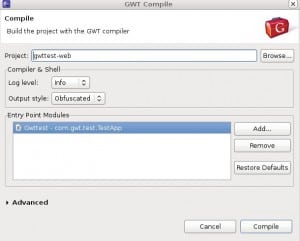
Compile gwttest-web with GWT by clicking on the “red G on the briefcase”.
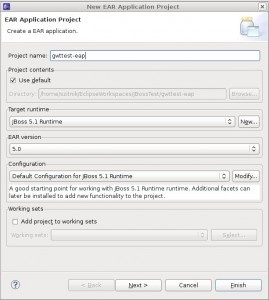
Normally you have also ejb projects and gwt project and want them to work together, so you create new EAR Application Project gwttest-ear.
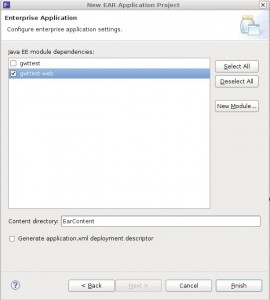
Select gwttest-web which contains module.
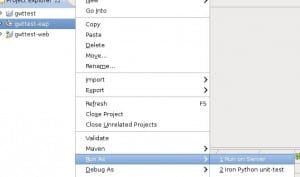
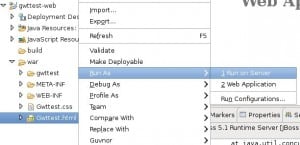
Tell Eclipse to Run this EAR project on Server. Then select your configured server from the menu.
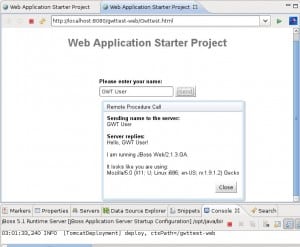
Your server starts and and you should see a line of deployment in the Console view.
Now run GwtTest.html.
The page opens in Eclipse’s built in web browser.
That’s it! Enjoy discovering new features and learning GWT. If you like scripts, you could also take a look of Ant to optimize your process.
